tl;dr
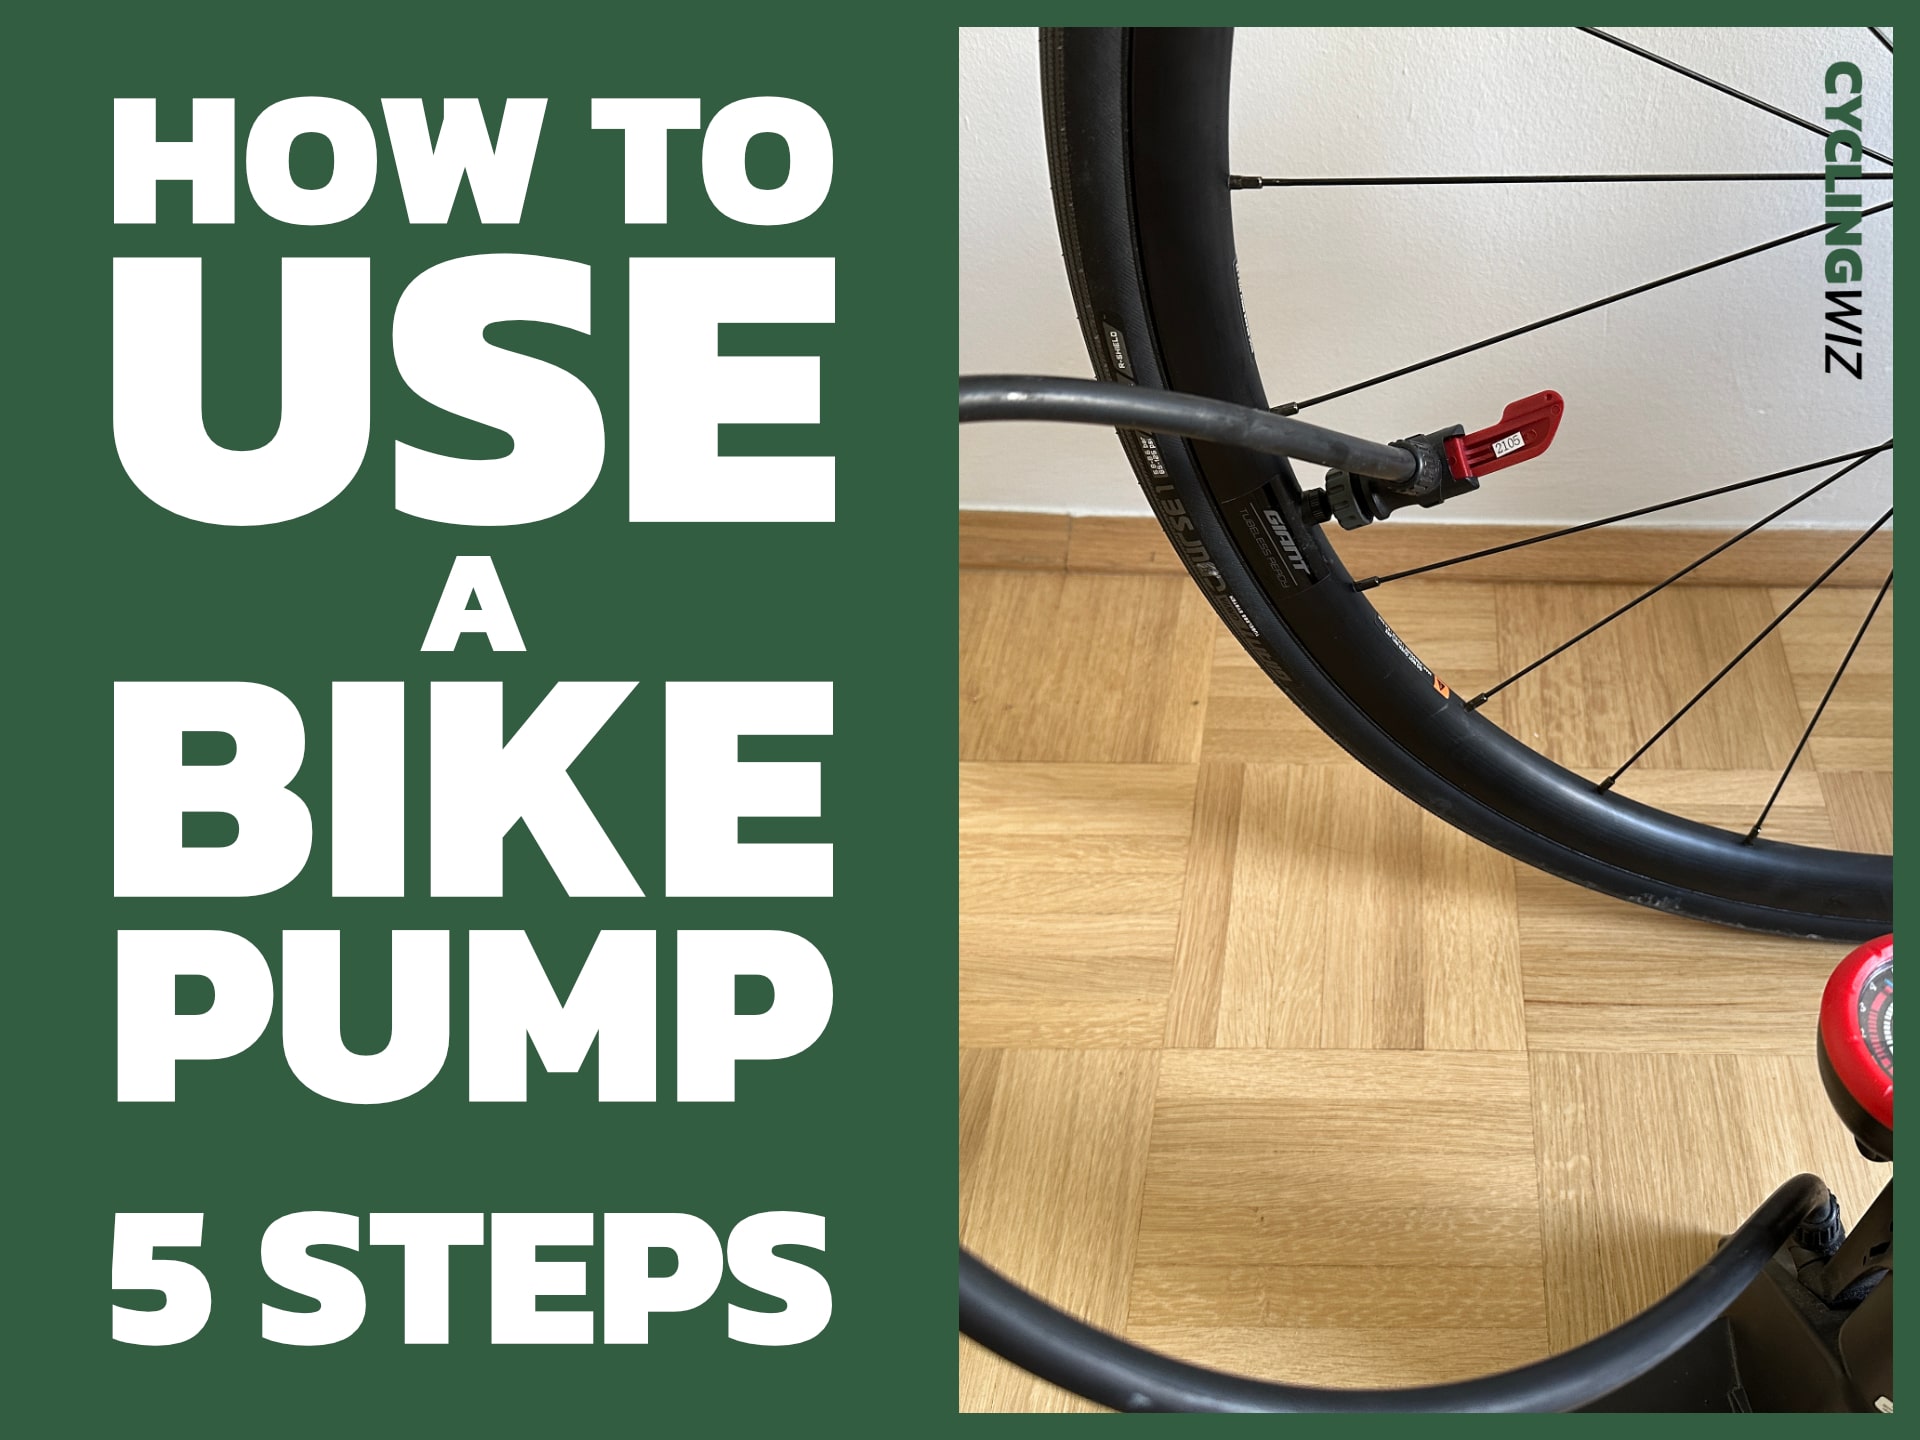
To correctly use a bike pump, you need to remove the dust cap, open the valve (Presta only), attach the pump and secure it, and then finally start inflating to desired tire pressure. Make sure to read until the end for pro tips and frequently asked questions on how to use a bike pump.
It doesn’t matter if you’re new to cycling or a seasoned veteran - everyone needs to have at least the basic mechanic skills. Puming the tires, or how to use a bike pump is one of them, and is probably the easiest bike maintenance skill to learn.
This article will show you how to work with a floor pump (track pump) and a hand pump that can be attached to your bike or stored in a jersey. You’ll also learn how to work with both Presta and Schrader valves, and what are the differences between these two when learning how to use a bike pump.
Let’s start with two prerequisites and then we’ll dive into the hands-on stuff.
Table of contents
Before You Begin: How to Use a Bike Pump Prerequisites
Let’s go over valve types first.
Determine Which Type of Valve You Have (Presta or Schrader)
The most common bike valve types are Presta and Schrader. You’ll typically find Schrader valves on cheaper or older bikes, while Presta valves can be found on entry-level road bikes and in almost all tubeless setups.
Take a look at the following image and compare it to the valves on your bike:

Credit: Cycles Et Sports
You must figure out which valve type your bike has because different valves require different pump nozzles.
As mentioned earlier, the most common valve types are Presta and Schrader. Some resources also mention tubeless valves, but these use the exact same nozzle as a Presta valve. The only difference is that the valve isn’t tied to an inner tube, but attached separately to the rim instead.
Most modern bike pumps will have two holes, one for each valve type, or they’ll allow you to switch the nozzle end.
If you have an older bike pump, it probably supports only one type of valve, but you can purchase a valve adapter separately.
Determine the Optimal Tire Pressure
As soon as you know your bike’s valve type, you have to determine the optimal tire pressure. Bike tires measure air pressure in Bars or PSI (pounds per square inch), depending on where you live in the world.

Credit: Author
The goal is to find a balance - give your tires enough pressure so they roll fast, but not too much pressure you’re bouncing all over the place.
Inflating the tires too much can lead to blowing the tire off the rim. The manufacturer’s recommended tire pressure can usually be found on the sidewall of the tire.
If you can’t find it, refer to the following table:
| Bike category | Tire pressure range (PSI) |
|---|---|
| Mountain bike | 25 - 35 |
| City/hybrid bike | 40 - 70 |
| Road bike | 80 - 130 |
We’re talking in ranges here because how low/high you’ll go also depends on your weight. If you’re lightweight, you’re safe to stick to the lower end of this range and vice versa.
The rear tire will need a bit more air since you’re putting more weight on it, so keep that in mind.
As an alternative, you can use various online tire pressure calculators, like the one from Silca:

Credit: Author
Anyhow, make sure you know the range for starters, and you can always tweak the exact numbers later.
How to Use a Bike Pump - 5 Steps to Pump a Bike Tire
We’ll now walk you through a tried and tested 5-step process on how to use a bike pump.
Step 1: Remove the Dust Cap from Valves
Most valves will have a so-called “dust cap” on top of them. You can go ahead and unscrew this cap and remove it, just as shown in the image below:

Credit: Author
It’s necessary to unscrew the dust cap because you won’t be able to get to the valve otherwise.
Keep in mind that these things are super easy to lose, so make sure to put them somewhere safe. You’ll need them later after you inflate the tire.
Step 2: Open the Valve (Presta only)
If your bike has Schrader valves, you can skip this step, as the valve is already open. If you have a Presta valve, you’ll need to open it to put the air in.

Credit: Author
Just like with the dust cap, you’ll have to unscrew the surrounding ring for a couple of turns until it arrives at the top of the valve.
If you haven’t done this in a while or if you’ve left tubeless sealant for a long time in the tires, you might find it difficult to unscrew it. Grab a pair of pliers for more leverage and be extra careful.
You’ll know it’s unscrewed because the air will escape if you press on the top of the valve.
Step 3: Attach the Pump to the Valve
Some floor pumps have two holes - one for each valve type. Others, like ours, have an end you can flip according to your valve type:

Credit: Author
The general rule is that a bigger hole is for a Schrader valve and a little hole is for a Presta valve. You need to press the appropriate nozzle hole down onto the valve until you feel it’s firmly placed. Some air might escape, but this shouldn’t worry you.
If you’re attaching to a Presta valve, be careful not to push too tight because this valve type is more delicate.
In case you’re attaching to a completely flat tire, make sure to push the valve from the outside tire because the valve will push back on the rim otherwise.
If you have a floor pump with the pressure meter, you’ll see the gauge move to the current pressure level in the tire. Once the nozzle is firmly placed on the valve, you’ll want to engage the lever and rotate it 90 degrees.

Credit: Author
Not all pumps will have this lever, but most you can buy will. Some expensive pumps are designed differently, but most of the floor pumps you can buy in a bike shop will have a lever.
Step 4: Pump the Bike Tire
You now have a secure connection to your bike tire, which means you can start pumping.
Take a look first for the current pressure level represented on the air gauge, and keep pumping with both hands until you reach the desired air pressure:

Credit: Author
Make sure not to overinflate your tires, as this will lead to bumpy rides and might even lead to completely blowing the tire off the rim.
Step 5: Detach the Pump and Close the Valve
Once you’re satisfied with your tire pressure, you can disengage the pump lever to the starting position:

Credit: Author
From there, remove the pump hose from the valve, and make sure to close the valve if you have a Presta valve.
Also, remember to put the protective dust cap back on:

Credit: Author
And that’s it - your tire is now inflated!
How to Use a Hand Bike Pump to Pumo a Bike Tire
A hand pump does the same job as a floor pump but requires a lot more work to reach the desired tire pressure.

Credit: Author
Hand pumps are excellent tools because you can take them with you on your rides. They’re easy to fit in a jersey pocket, and some even come with a frame mount. You typically put the mount through the same holes where your bottle cage is installed, but below the actual cage.
Step 1: Remove the Dust Cap from Valves
Just like with the regular floor pump, start by unscrewing the dust cap and storing it somewhere safe:

Credit: Author
Doing this will expose the valve, which is needed if you want to inflate the tire.
Step 2: Open the Valve (Presta only)
Skip this step if your bike uses Schrader valves since there’s nothing to open. If you have Presta valves, rotate the little ring for a couple of turns:

Credit: Author
Your valve is now open, which means you can start inflating the tire.
Step 3: Attach the Pump to the Valve
Some hand pumps come with two holes - one for each valve type. The one we have has only one magnetic hole, but allows you to change the end on the hose to accommodate Schrader valves:

Credit: Author
If your hand pump is designed similarly, attach the hose to the valve first, as shown below:

Credit: Author
If you have a different type of hand pump, attach it directly to the valve, and make sure it stays attached and that it won’t misalign the valve or damage the valve core.
You can now attach the hand pump to the hose by using the magnetic mount:

Credit: Author
The next step is to start pumping.
Step 4: Pump the Bike Tire
Here comes the tricky part. The hand pump body can only take so much air, which means you’ll have to spend a lot of time pumping the tires.
It’s a great tool to have with you on the road or trail, but not the tool you want to use at home.
Expect to pump the tire at least for a couple of minutes.
Step 5: Detach the Pump and Close the Valve
Once you’ve reached the desired tire pressure, make sure to tighten the ring (Presta valve) and put the protective dust cap back on:

Credit: Author
And that’s it! You’re ready to continue riding.
Our Bike Pump Recommendations
This section will list our recommended floor and hand pumps for every budget.
Let’s start with a no-brainer budget-friendly floor pump. It’s nothing fancy, but will cover both Schrader and Presta valves without breaking the bank, and also has a pressure gauge attached to it:
Guage fits Schrader and Presta valve types, multiple colors
A big diameter pump (moves a lot of air in just a few pumps). Budget-friendly, so don't expect premium materials and finishing touches. You'll have to invest some strength for inflating over 60 psi.
Buy on AmazonIf you want something more premium, expect to pay for it. This pump from Topeak is definitely on the pricier side, but comes with a dedicated pressure chamber for setting up tubeless tires:
Amazing (but pricey) floor pump for setting up tubeless tires
A heavy-duty pump with the best-in-class pressure gauge. A bit of an overkill if you're not using a tubeless setup, but a great way to future-proof your cycling career. Has a dedicated chamber for setting up tubeless tires, which is a must-have if you don't own a compressor.
Buy on AmazonAnd finally - a hand pump we’ve shown in this article. It will fit on the bike frame with an included mount, and will also fit in a regular cycling jersey. A must-have if you’re on the road/trail:
Small hand pump that won't ruin your tire valves
An extremely light hand pump with a detachable hose. Due to its design, it won't destroy valves and valve cores when pumping for several minutes or more. A must-have for when you get a flat in the middle of nowhere.
Buy on AmazonHow to Use Bike Pump FAQ
How Does a Bike Pump Work?
The bike pump works by compressing the air which is then pushed down the pump tube into the inner tube, or tire itself (only for tubeless setup).
When you raise the pump handle, the valve shuts which prevents air from escaping. The compressed air goes back into the cylinder. This is the basic process that is repeated when you pump the tires.
The tire pressure of your bicycle’s pump relies on a hand-operated piston within a pump. The upward motion draws air from the outside through a one-way valve. On the downward motion, the piston compresses the air and inflates the tire or inner tube.
How Often Should I Pump Up My Tires?
You should check the tire pressure before every ride, and pump the tires if necessary.
At the very least, give the tires a quick squeeze by hand and use your best judgment. It’s not the most accurate approach, but will likely be fine if you’re in a hurry.
How Does My Tire Hold Air?
Most bikes use an inner tube to hold air, which is an airtight tube inside the actual tire.
These tubes have a valve for pumping them. Once inflated, it pushes the tire onto the rim and protects it from punctures.
The actual tire serves as a casing to protect the inner tube.
A tubeless setup ditches the inner tube in favor of a tubeless sealant - a liquid that plugs any points where air is escaping. These are more common on mountain bikes, be we see them on a lot of road bikes nowadays.
This type of tire setup allows you to run the tires on lower pressure (increased comfort, speed, and traction), but requires somewhat more maintenance. The installation is often tricky and messy, and you also need to top off the sealant every now and then.
We recommend the following floor pump if you’ll be setting up tubeless tires at home:
Amazing (but pricey) floor pump for setting up tubeless tires
A heavy-duty pump with the best-in-class pressure gauge. A bit of an overkill if you're not using a tubeless setup, but a great way to future-proof your cycling career. Has a dedicated chamber for setting up tubeless tires, which is a must-have if you don't own a compressor.
Buy on AmazonWhat To Do If My Tire Isn’t Holding Air?
You most likely have a flat that needs to be fixed.
It’s almost certain that the inner tube has a hole, or if you’re running tubeless there’s a crack that the sealant can’t seal
For a tube setup, you can either patch the tube or replace it - just make sure the cause of a flat is not present in the outer tire, as this will puncture your new inner tube in no time.
For a tubeless setup, you can use tire plugs to seal bigger holes and then pump the tire back to the appropriate pressure.
What To Do If I Don’t Have A Pump At Home?
You can go to a local bike shop, gas station, or even a bike park.
We strongly recommend buying a dedicated floor pump - even the cheapest one - as managing tire pressure is a recurring task.
This one will do the job perfectly:
Guage fits Schrader and Presta valve types, multiple colors
A big diameter pump (moves a lot of air in just a few pumps). Budget-friendly, so don't expect premium materials and finishing touches. You'll have to invest some strength for inflating over 60 psi.
Buy on AmazonThe gas station option is a tricky one, because you’ll be pumping the tires with an air compressor - overinflating is common to happen.
Do All Bike Pumps Fit All Bikes?
In general, yes, all bike pumps fit all bikes.
This might not be the case if you have an old pump that was manufactured when Presta valves weren’t as popular, or a really cheap tire that only supports Schrader valves.
In that case, you can either buy a new pump or a dedicated valve adapter.
How Do I Know if My Pump is Presta or Schrader?
You’ll usually find Schrader valves on cheaper and older bikes. On the other hand, Presta valves can be found on entry-level road bikes and in almost all tubeless setups.
The following image showcases the differences between these two valve types, so simply compare it to the ones you find on your bike - just remember to remove the dust cap first.

Credit: Cycles Et Sports
How to Use a Bike Pump With Two Holes
Most floor pumps will have two nozzle holes. The first, larger one is for Schrader valves, and the second, smaller one is for Presta valves.
Remember to press the appropriate nozzle hole onto the valve until you feel it’s firmly on. Once done, follow the 5-step process explained earlier in the article to inflate the tire.


